I keep reminding myself of why I’m here. I want to give myself the best chance possible at learning how to create a life where graphic design is my career. But I’m not the kind of person that wants to do a job simply to make good money. I never have been. In fact, I left behind a six-figure job because it didn’t feed my soul. And given how much time we spend doing our jobs, I want to merge my life passions with that of my career. Whether that be in the outdoor space, connected to fitness, the tennis world, or in the food industry, I would be happy if my lives converged.
One project that I could see myself investing time on would be working on a series of posters (maybe 3-5 different ideas) or print advertisements that promote the mental and physical benefits of being connected to the outdoors.
The gains for undertaking such a project would likely reap more than a single benefit. It would help me to conceptualize a larger scope project, thereby helping me to further advance my design skillsets. And perhaps it would be even place my work in front of the sort of business eyes that I hope to impress one day soon. Maybe helping to open up avenues I hadn’t previously thought of.
ROUGH OUTLINE (WITH TIMELINE TOO!)
A rough timeline for this personal project would look something like this.
Research (1- 2 weeks)– This would be my first step, as it would inform most of the steps below very directly. There is a lot of information out there on the health benefits to spending adequate time outdoors, being disconnected from the interwebs.
Develop Concept (1-2 weeks) – Here I’d spend time looking for inspiration, to see how others have tackled a similar project. Mind mapping ideas for headlines, subheads, fonts that fit the theme of my posters.
Design (1-2 months) – Combining images, illustrations, typography, I’d work to create posters that effectively communicate my intended vision.
Write Copy (2 weeks) – This might be my least favorite part!
Revisions (1 week) – Review and revise until my posters are ready for print.
Print (1 week)!
RESOURSES REQUIRED
Based on the outline provided above, the resources needed for a project like this might include:
Research materials – books, articles, studies, demographics
Design software
Images and illustrations
Copywriting materials
Printing materials
PROJECTED COST
Although I’m not entirely certain what a project like this would cost, I don’t think it would exorbitant. Especially considering many of the resources are already available to us in our program studios.
Guest speaker Friday is one of my favorite classes of the week. Being able to learn and glean information from working professionals is extremely helpful. And hearing from people spanning a wide range of fields only further adds to its usefulness to our growth here at the academy . It was a pleasure being able to sit back and listen to Abdul Kassamali talk about his experience in the field. I would like to think that one day, after I’m done with my education (or perhaps during it!), that I’ll be able to marry my passion for photography and film with my career in design.
He spoke a lot about the importance of planning, and that at times (many, in fact) we will have to pivot – whether that be in direction, scope, tone, etc. A change to our approach. Although my time at school is only a quarter and some change in, I’ve had a number of opportunities to learn the value of mastering these particular skills. One project that gave me a lot of issues last quarter was my final poster project for Jill’s class. Figure 1 is a description of that project.
Event poster project parametersFigure 1
The task of the project was to create a poster that promoted an event for a local business. Jill allowed us to choose which client we wanted to build out our poster idea for. I chose Full Tilt. The poster I was designing would promote their 5th Annual Sunday Fundae Social event.
When I first started working on the project, after a couple of iterative rounds of drafting ideas and sketching out possible outcomes, I thought I had a clear understanding of both the brief and the direction that I was taking the poster in. Sketching continues to be a struggle for me, but after putting pencil to paper, I started to feel a bit inspired. I was excited about being in that mode. Maybe realizing that it was possible to learn how to draw after all. Anyhow, this led me down a path that eventually ended up being a sort of rabbit hole for me, and I realized (thankfully not too, too late) that I needed to pivot. I tried everything I could (given the time constraints we were under) to make my initial idea work. But something was off, not connecting. And I soon lost confidence in it. Figure 2 is a screenshot of the last good stage of my initial idea. This is when I decided to take a different approach.
Failed Attempt Figure 2
Turns out the arch way was making things more complicated than it needed to be. Same with the font that I was attempting to work with. But because I had at that point been working on this concept for over 3 weeks, I needed to take a stab at a fresh approach to capturing the spirit of the intended poster. I had been looking at the wrong thing for far too long to continue working with those art decisions. New was now in, with only a week left till the final project was due. Jill recommended I rent an iPad from Ed, and attempt to digitally draw my poster. So that’s what I did. Taking away the archway, and hand drawing my main font really helped a lot. In the end, I that my final design piece better captures the essence this particular project. Jill confirmed my choice later, by telling me that she felt the newly designed piece was a lot stronger, with better colors and structural hierarchy. The pivot was scary, with only a week left, but I’m happy I did it, and it taught me a lot about how I would approach future projects. Figure 3 shows my final version. If I had invested the full three weeks on this direction, I believe this final version would actually be even better than it is below. Also, I do wonder what my poster would look like if I had already taken the color theory class. I’m excited to maybe revisit this once I’ve completed that course this quarter. All exciting things I know I will continue to learn here at the academy!
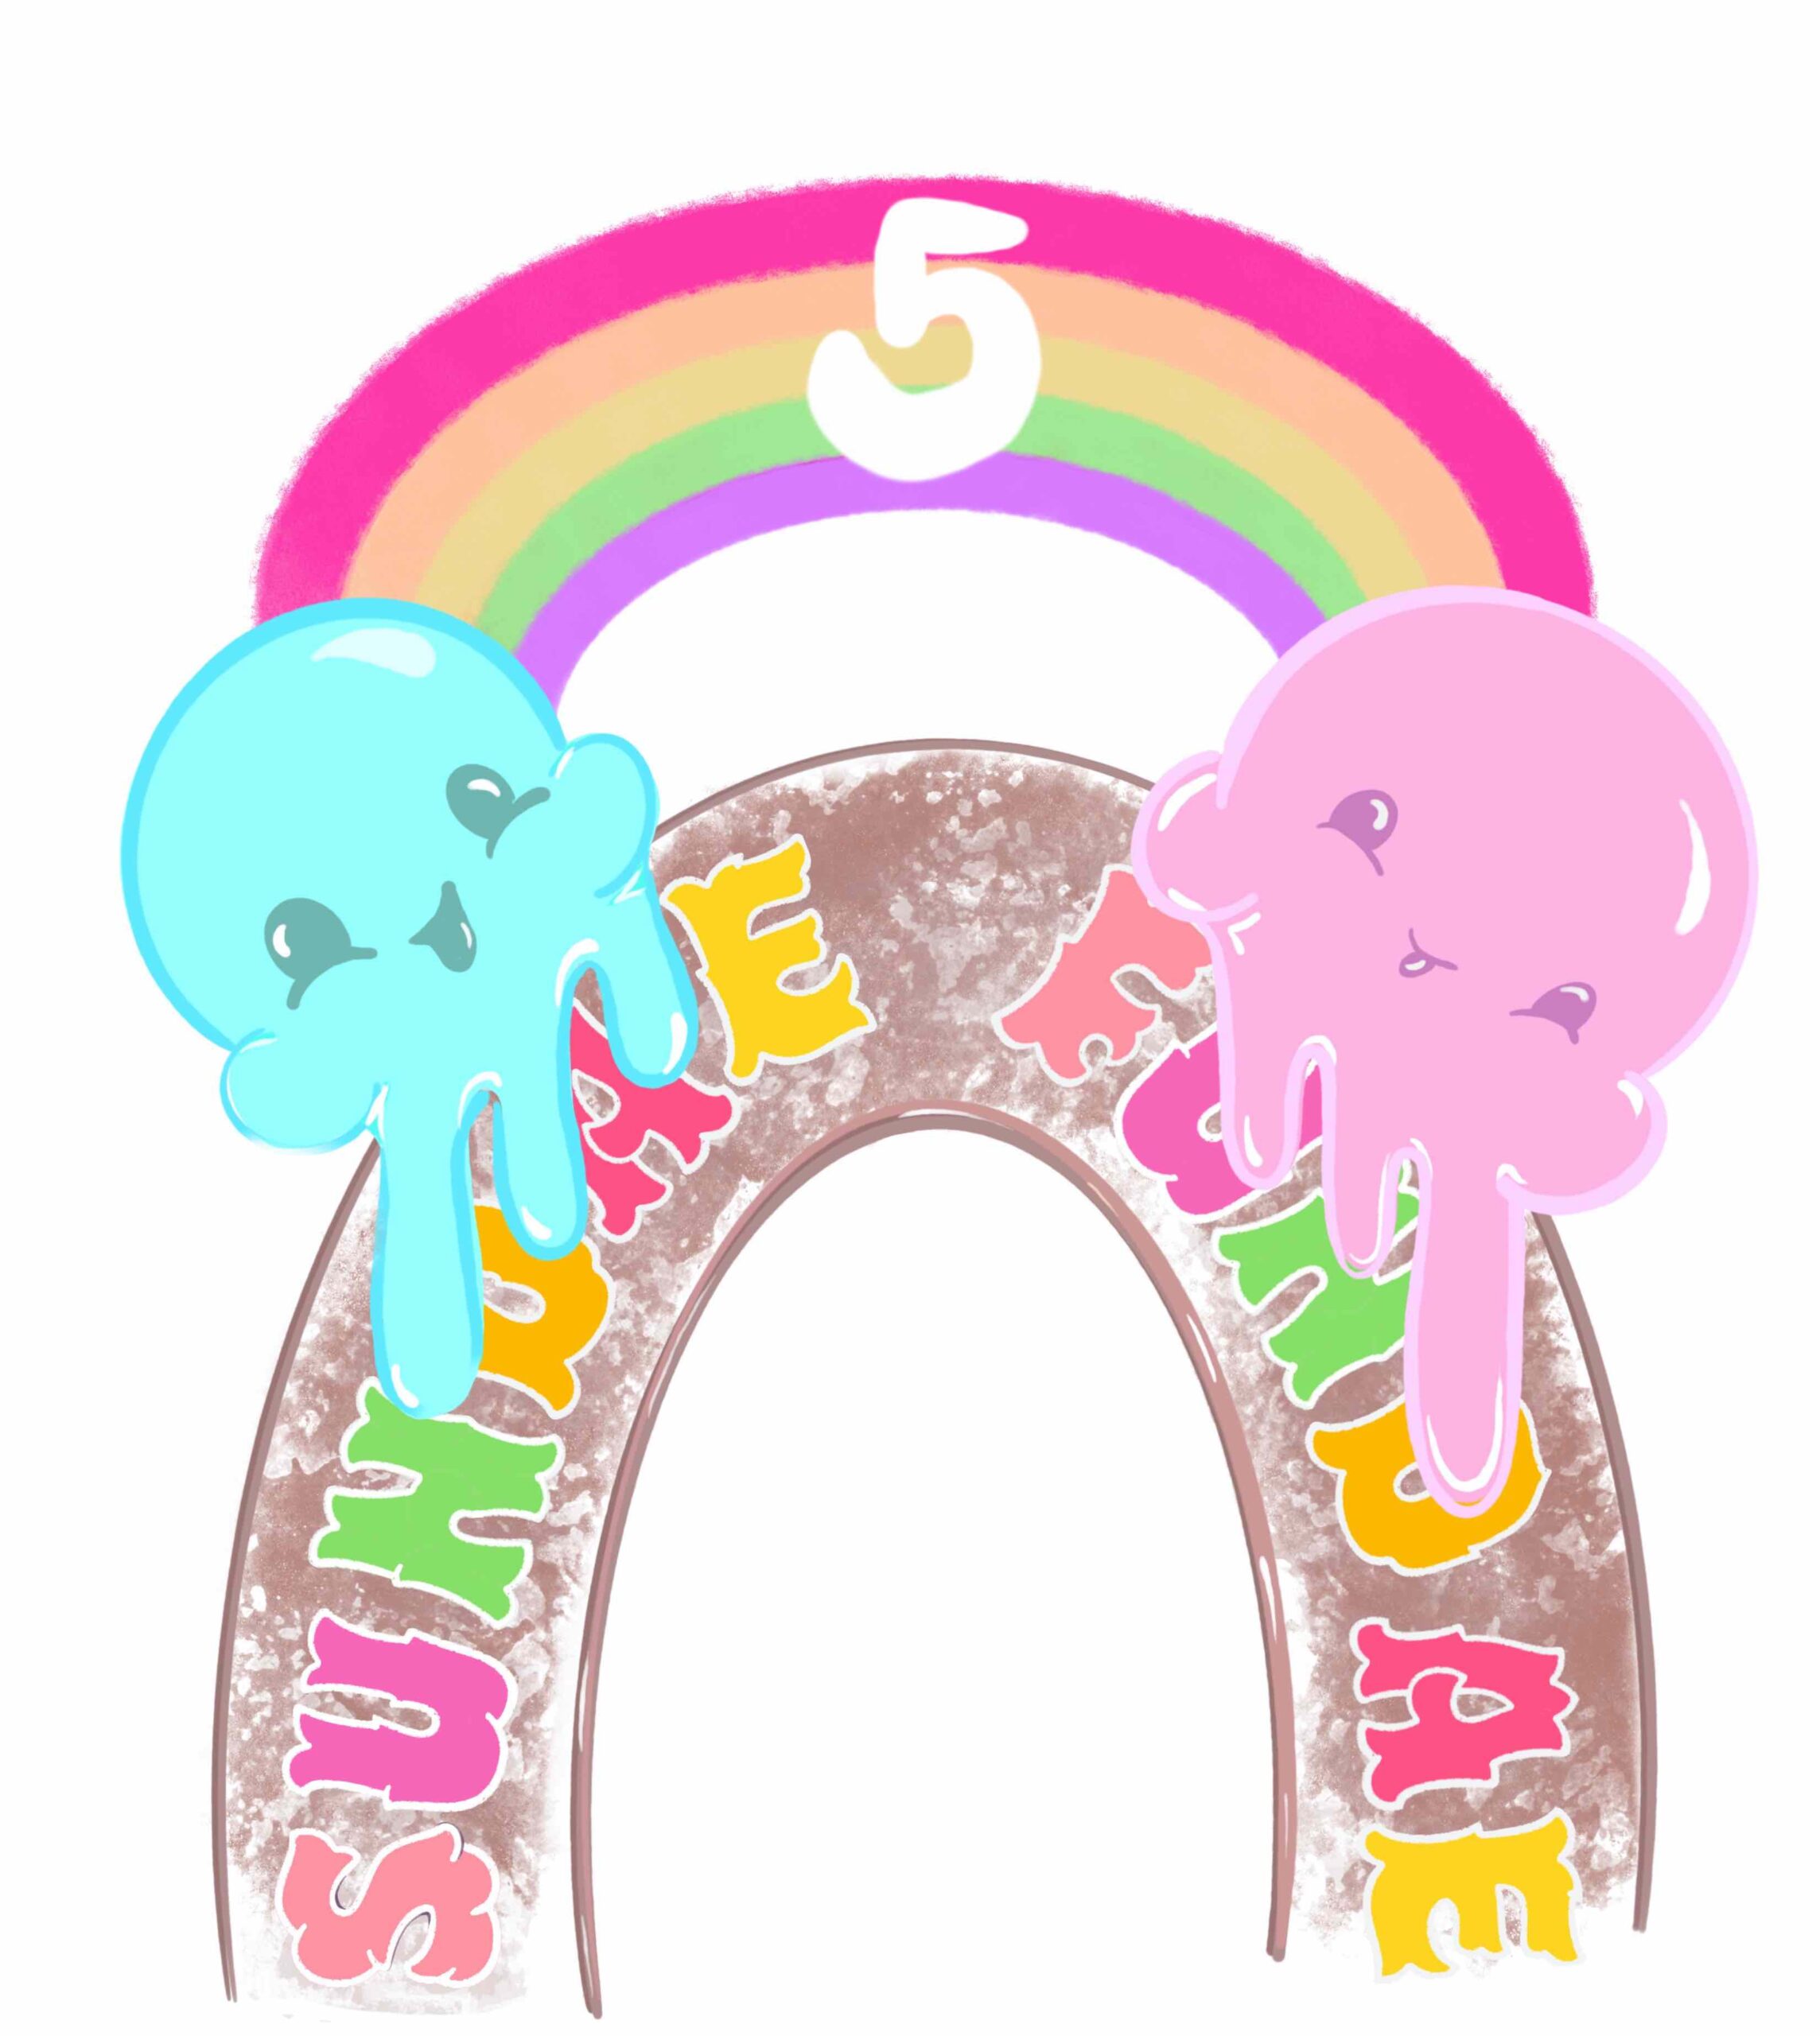
If you like Phở, you will absolutely LOVE Bún Bò Huế! It’s rich and bold, and is my go to for comforting soup on a cold, rainy Seattle day. Or any day of the week, really; whether cold or not. It’s that amazing. And I predict it will soon be something many people know about, and will maybe even replace Phở as their soup of choice. It’s a spicy beef noodle soup from the region of Huế in Vietnam. It’s so goddamn delicious, ultra satisfying, and literally takes all day to make. You’ll be wanting seconds (or even thirds) for sure.
A group of my best friends are first generation refugees from Laos (many of the soups they love and enjoy share similar roots to that of Vietnam, Cambodia and Thailand), and is a soup they only make during special occasions. Having been around them now for over two decades, I’ve been fortunate enough to learn how to make many of their treasured recipes, Bún Bò Huế being one of my top 5!
Below, I’ve attached a recipe that I often use as a good reference point, as many of the recipes they teach me are word of mouth, and I’ve never actually written it down. But this recipe comes from a good source, so I’d say start here if this is something you want to make. They’d kill me anyway, if was to share their family secrets!
As someone who loves to cook, I often find that after the long process I want to capture the dish in a way that entices the viewer to want to eat my food. Hopefully that was accomplished.
The tools I used for this project was my Nikon D3s, a handy dandy 50mm/1.4, and a few basic high wattage pure white light bulbs. I tried to create a dynamic shot by allowing some of the light to spill onto my scene without diffusion, flagging half the light thru a DIY diffusion board. I saw a YouTube video on it and wanted to try it out for this project. I really like the effect it made. The image seems to have life because of it. As if it was near a window, with some of the dappled light hitting areas of my scene.
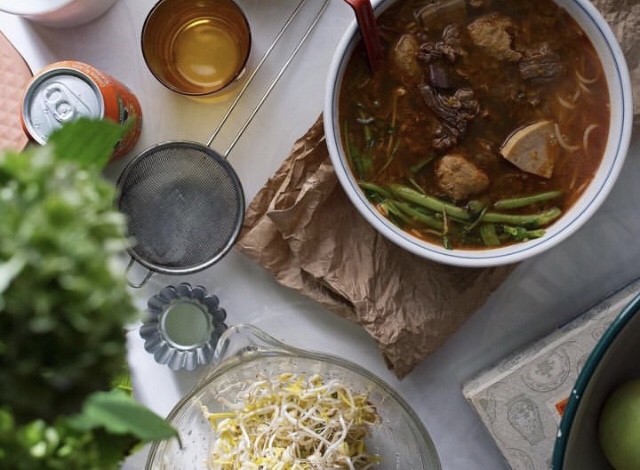
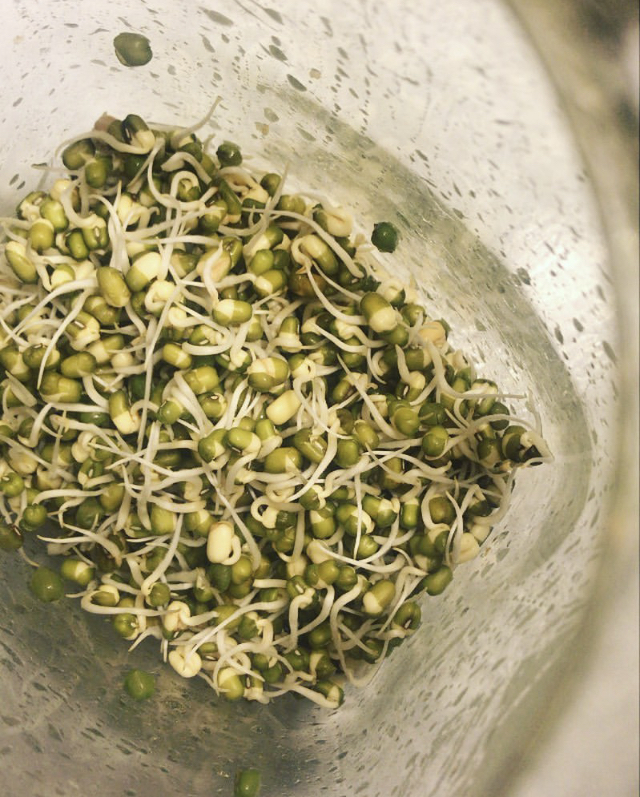
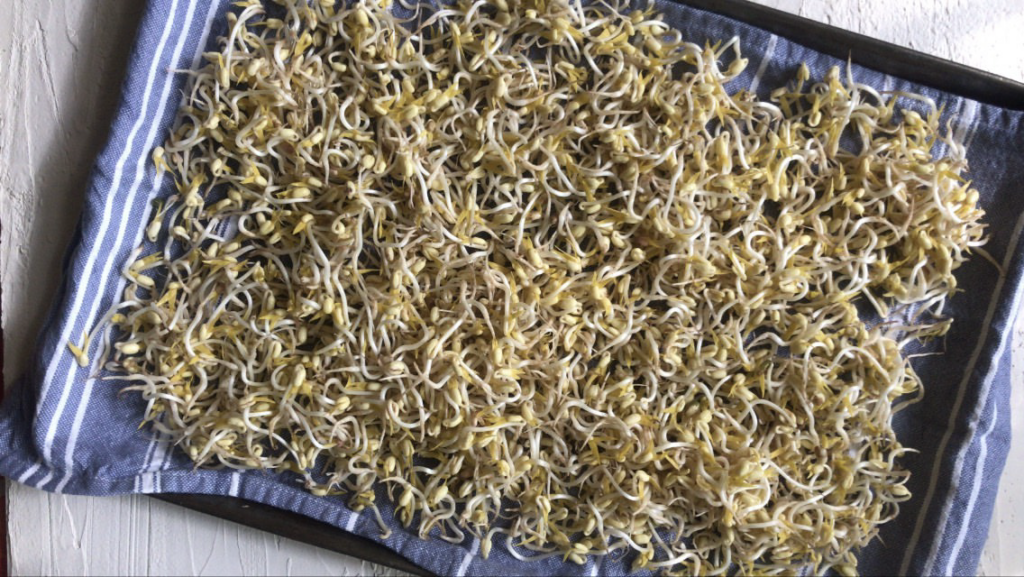
I took the image into Lightroom to and did a few simple adjustments to help some of the color pop more vibrantly, but tried not to overdo it. Also, this dish made great usage of my homegrown bean sprouts. The store bought stuff just doesn’t cut it. It’s easy to do, but takes about a week. First you soak the mung beans overnight. Then you place them in a large enough jar for them to grow, all while washing them out each night so they don’t spoil. I love them, and grow them weekly. Simple nutrition. Here’s a couple of images of them.
Here’s the recipe. If you make it, please let me know. I’d love to hear what you think.
INGREDIENTS ▢2 lb (907.2 g) beef shank ▢2 lb (907.2 g) oxtail ▢2 lb (907.2 g) pork hocks ▢1 lb (453.6 g) Huế style pork sausage chả Huế, which has garlic and whole peppercorns ▢1 lb (453.6 g) block of pork blood BROTH BASE & SEASONING ▢water I used an 8 quart pot, and added water to cover the meat. ▢24 oz chicken broth ▢12 stalks lemongrass leafy tops removed, roots smashed ▢2 yellow onions, large halved, to be removed from the broth after fully cooked. ▢3 tbsp salt ▢2 tbsp sugar ▢2 tbsp shrimp paste Lee Kum Kee brand ▢3-4 tbsp fish sauce ▢2 tsp MSG (monosodium glutamate) if not using oxtail, add 4 teaspoons AROMATICS & COLOR ▢3 tbsp anatto seeds ▢3 tbsp neutral cooking oil ▢2 tbsp shallot sliced ▢2 tbsp garlic minced HERBS & VEG ▢mint ▢basil ▢bean sprouts ▢birds eye chile or jalapeno ▢lime sliced BANANA FLOWER ▢1 banana flower ▢2 cups water ▢1 lemon juiced
NOODLES ▢14 oz (396.9 g) package dried rice noodle medium or large thickness
SATÉ (SPICY CHILE CONDIMENT) ▢20 g dried Thai chile crushed ▢1/2 c neutral cooking oil ▢80 g shallot or white onion minced ▢40 g garlic minced ▢30 g lemongrass minced ▢2 tbsp Korean chile powder (gochugaru) ▢1 tbsp fish sauce ▢1 tbsp sugar ▢2/3 tsp salt ▢1/2 tsp MSG (monosodium glutamate) (I don’t add this btw!)
INSTRUCTIONS
BROTH Clean the meat: Add all meat to a stock pot and enough water to submerge it, bring to a boil. Drain and rinse thoroughly under running water.
Add the meat, broth, lemongrass and onions to the pot and fill with water almost to the brim. Bring to a boil then drop the heat to medium-high to maintain a low boil. Add the seasoning.
Let it simmer and periodically check the meats for doneness and remove them as they finish cooking. The pork should be done after about an hour, the beef can vary between 2-3 hours.
After all the meat has removed, let it cool, then slice it. Adjust seasoning and add water to the broth pot if necessary.
Make the aromatics & coloring then add it to the pot. Boil noodles according to package instructions. Assemble your bowl, and serve with herbs and veg on a side platter.
RED COLORING & AROMATICS Sauté seeds in oil on medium heat until the seeds give up the bright red color, then remove the seeds. annatto seeds and oil for red coloring Add shallots and garlic, sauté until brown. Add all of this to the pot of broth for color.
PORK BLOOD (HUYET / TIET) The easiest thing to do is just buy it already cooked and boil just to heat it up. If you use the raw type like we did for this recipe, cut into 1″ cubes and boil for 30-45 minutes.
BANANA FLOWER Prepare a bowl of about 2 cups of water, mixed with the juice of 1 lemon. Thinly slice the banana flower and add to the water mixture to sit for about 30 minutes.
SATÉ (SPICY CHILE CONDIMENT) Weigh out the dried Thai chiles, then soak in just enough warm water to cover the chiles for 20 minutes. Drain the water. Add all sate ingredients to a pan on medium heat and stir continuously to brown, cook, and slightly reduce the chile paste, about 30-40 minutes. If at any point it becomes too dry, you can add more oil, up to 50% of the amount we started with. Taste and re-season with sugar or salt as desired.
Let cool and transfer to a sealed jar stored in the fridge . You can add ~2 tbsp of the final product to the soup pot for a boost in flavor and color, or simply and let each person add to their bowl to make it as spicy as they’d like!
Here’s the link to the recipe for reference: https://www.hungryhuy.com/bun-bo-hue-recipe/