Categories
New Media

Blog Assignment #7 – Technology to Wish For

A piece of technology that I would be interested in owning is the Ender 3 Pro 3D Printer, a relatively inexpensive 3D printer intended for creating small models for home use.

Looks pretty cool, wouldn’t you agree?

Notable features listed on the Amazon page for the printer are:

  • REMOVABLE BUILD SURFACE PLATE: Provide all-round protection to your 3D printer build plate and ensure consistent temperature throughout the build surface. Easy to remove the printing models after cooling.
  • SAFE POWER SUPPLY: Ender 3 Pro comes with a branded power supply, protecting your printer from unexpected power surges, that can heat the hot bed to 110℃ in just 5 minutes.
  • RESUME PRINT FUNCTION: Ender 3 Pro can resume printing from the last recorded extruder position after suffering unexpected power outages.
  • SEMI-ASSEMBLED KIT: This easy-to-setup kit comes partially assembled, allowing you to learn about the basic construction of 3D printers as you finish putting it together. A fun STEM educational experience in mechanical engineering and electronics.
  • WHAT YOU GET: Ceality Ender 3 Pro 3D pinrter, lifetime technical assistance and 24 hours professional customer service.

The descriptions for these features make it seem easy to assemble, which is great for people who are concerned with the setup process. It states that it’s easy to remove individual components for safety reasons and cleaning, and ensuring that the printing process continues as intended even after unintended interruptions.

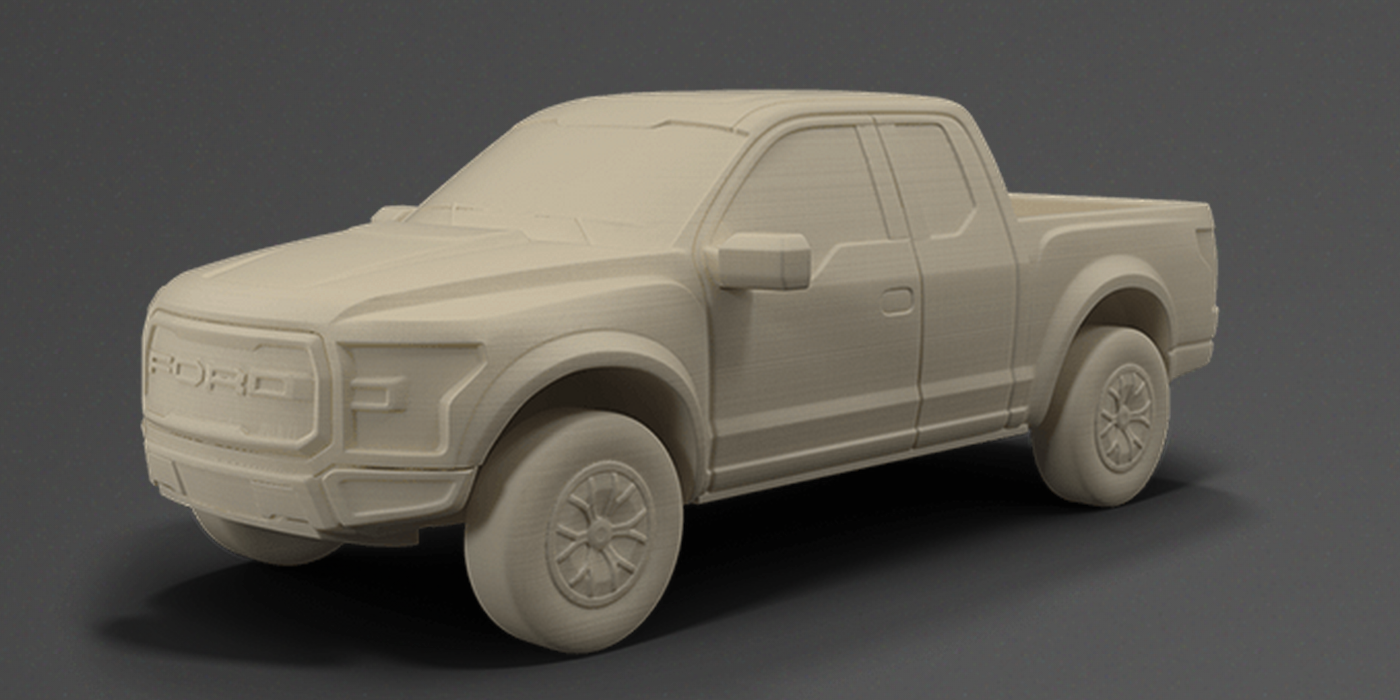
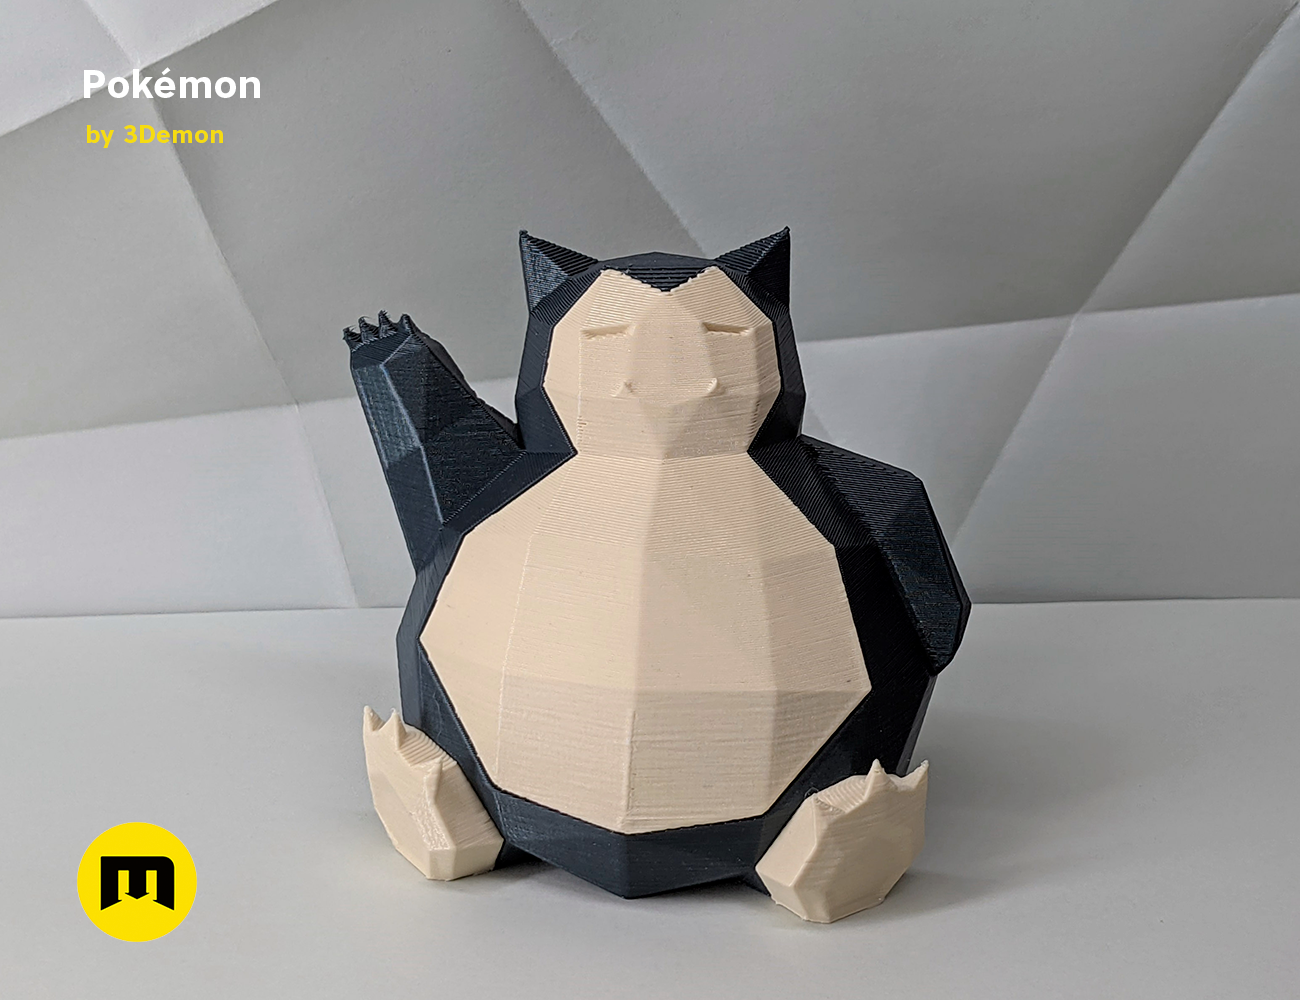
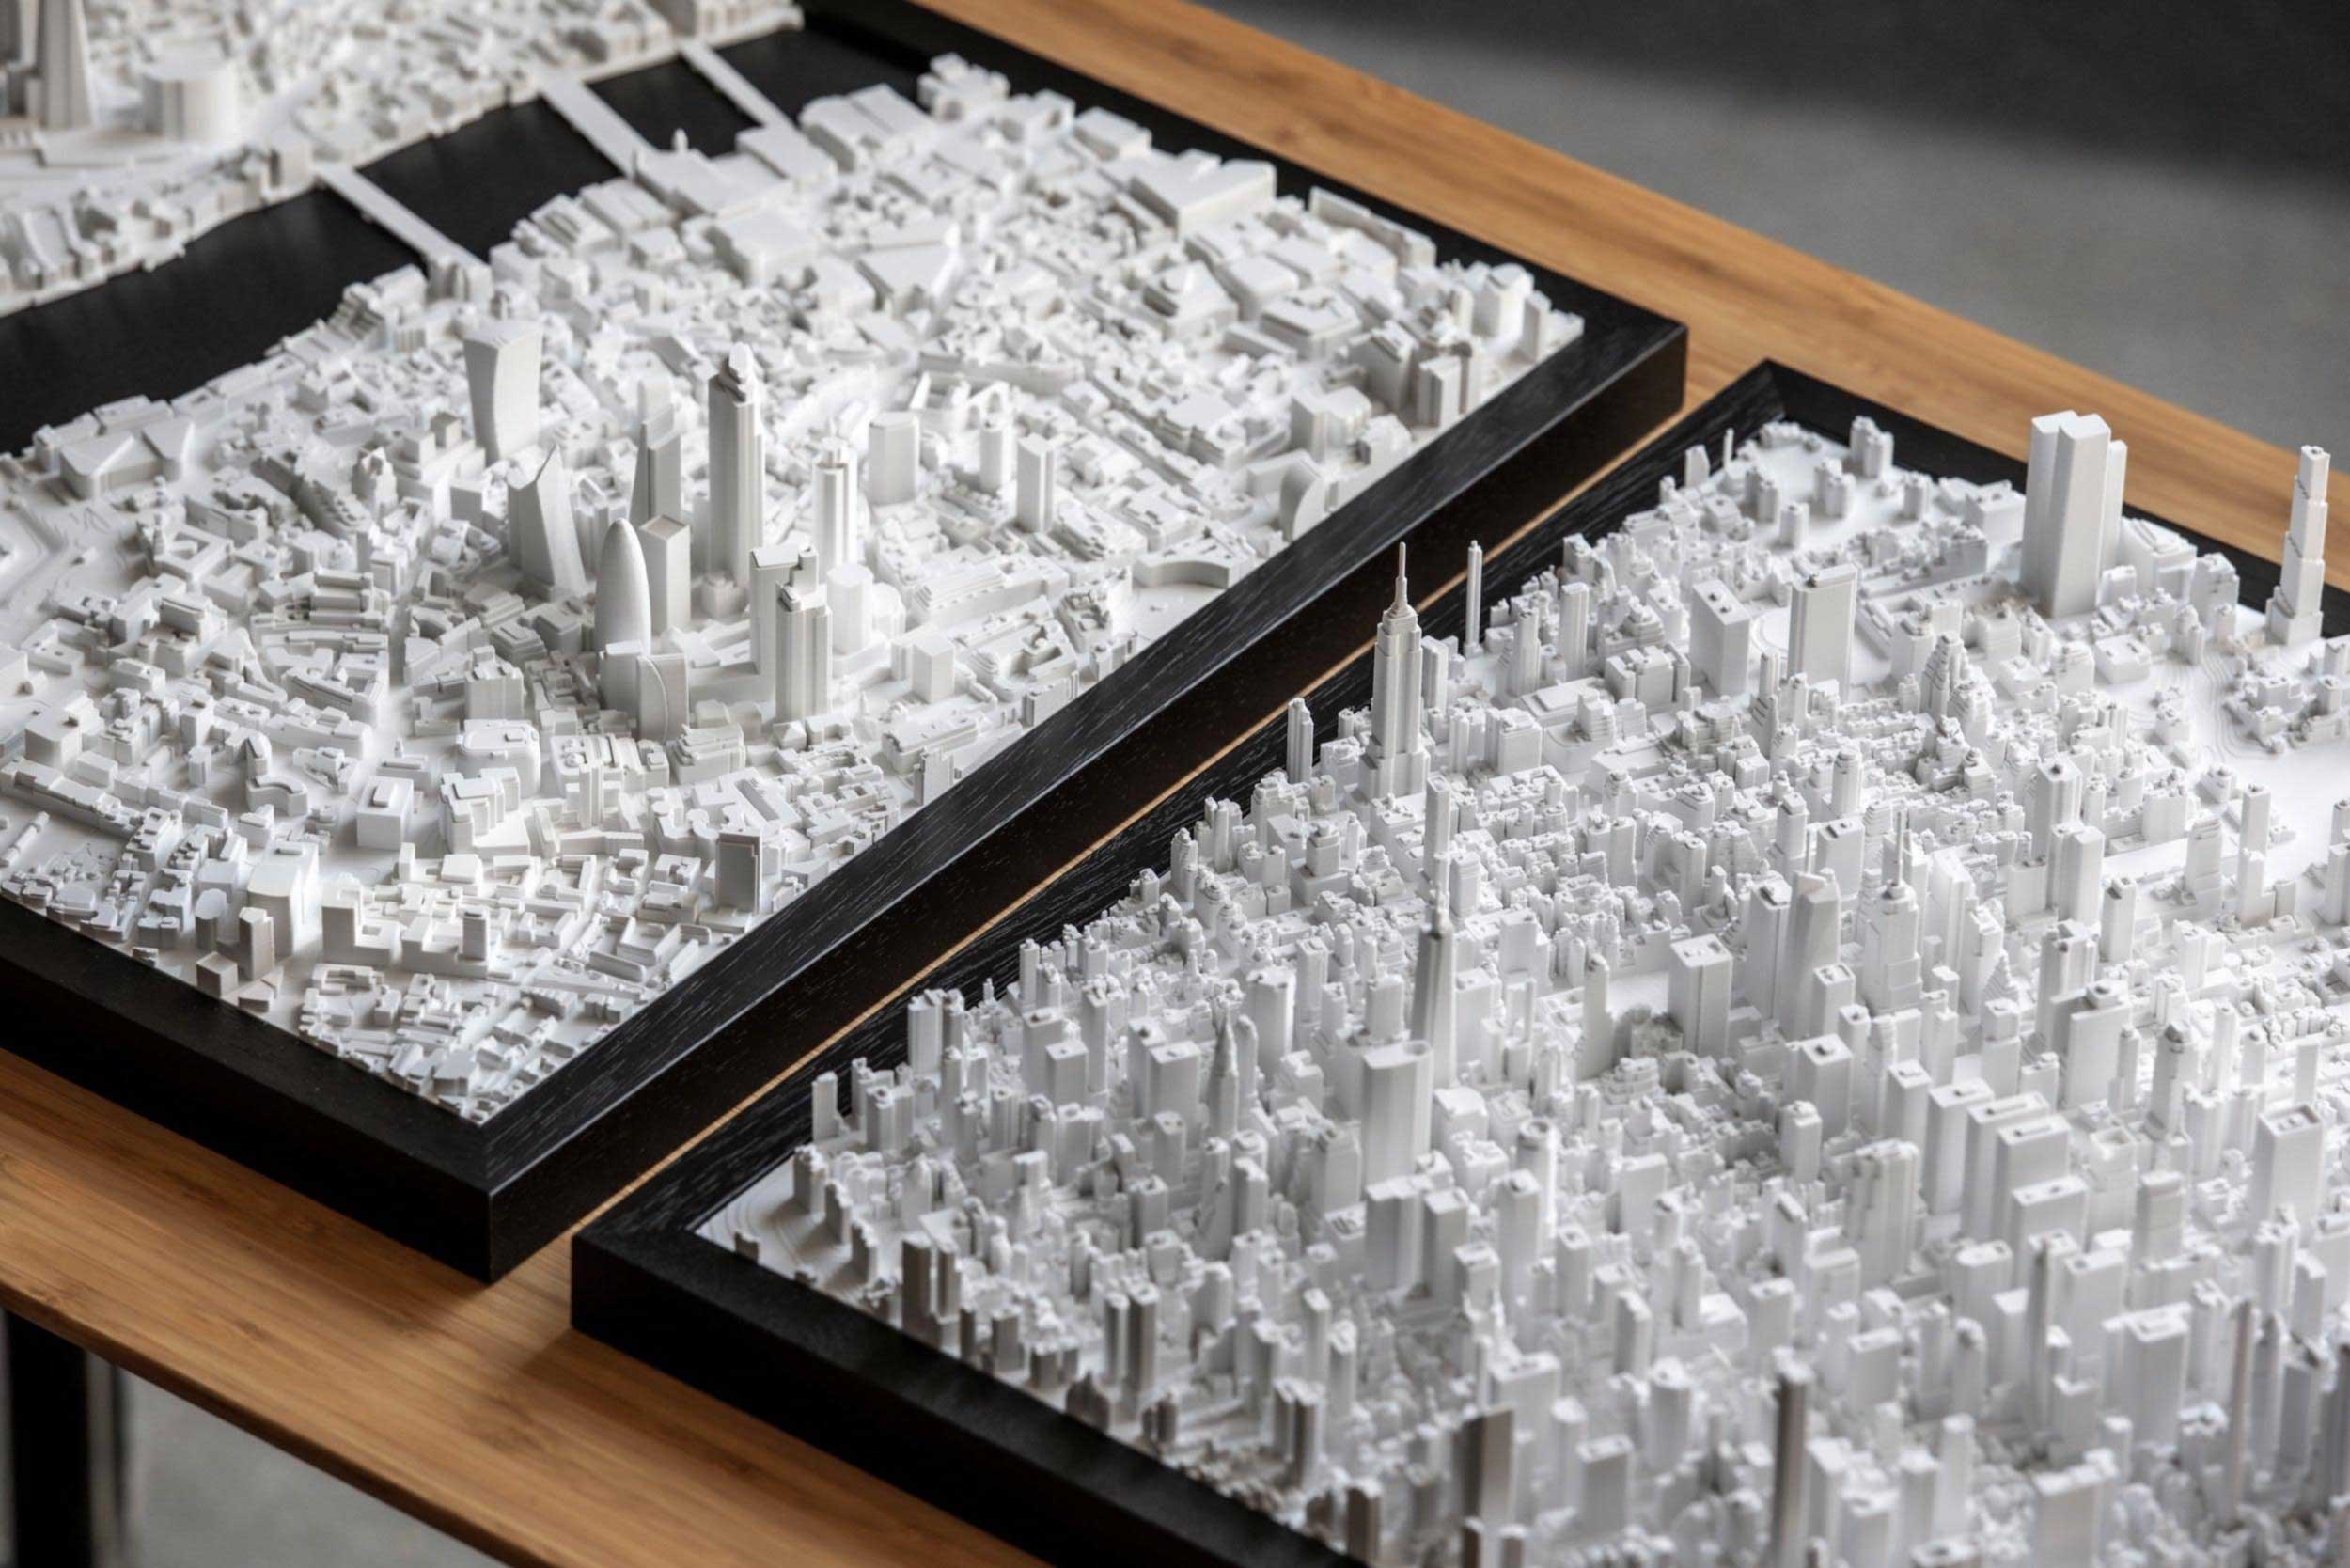
What I intend on using this printer for if I wanted to get my hands on it is creating models of vehicles and video game characters to display on my shelves, which would add some more personality to my collection . I’m also interested in creating models of cities, or recreations of video game areas to display on tabletops. Maybe if I’m patient enough, I could even print something much larger than what the manufacturer intended…

Sherrod DeGrippo 🧁 on X: "You wouldn't download a car... but you might use  a Bluetooth module on your phone to illegally steal gas.  https://t.co/IwJiytZflk" / X
Actually yes, yes I would. Given the opportunity, I would definitely download a car without any hesitation. What’s going to stop me, regulation?

Categories
Weekly Assignments

Blog Assignment #6 – What Makes Me Unique?

For this blog post, I’m going to discuss the experiences and interests I’ve gained that allow me to stand out. I would personally describe myself as a swiss army knife, someone who has a wide array of knowledge about a variety of programs, creation processes, and unique styles.

Being in the graphic design program, I had some experience with producing many digital graphics over the course of the pandemic including several posters, two catalogs for an online videogame, a promotional image, many social media posts, slideshows, mockups, and plenty of image editing as well. I’m confident in claiming that my graphics have been successful in attracting a substantial amount of viewers and visitors to the online groups I promoted, as well as my own social media profiles, which gained some positive reception.

I also do light video editing and animation, though nowhere near as often as I do graphic design. Meme videos are my specialty, which often involve combining a main topic with cheesy animations, funny sound effects, and appropriate background music. I sometimes edit videos after sightseeing, adding transitions between different areas, and some atmospheric music. I then post them to social media afterwards, which I find to be a rewarding experience seeing people view the final product, despite the long work-to-product ratio compared to creating graphics.

I’ve always excelled in writing as well. Though not unique to me, I wrote a variety of essays, responses, research papers, and stories during high school that involved being able to support evidence, providing sources, and analyzing quotes and data for school assignments. What separates me from other people is my interest in continuing to write in these formats during my free time. I enjoy researching topics, and incorporating that knowledge to my infographics and scripts that I produce for myself and other people.

It helps that I’m able to describe things in great detail. For example, I sometimes write food reviews and tier lists on social media that include variables such as price, quantity, taste, service, and comparisons to other similar locations. These reviews involve condensing everything the audience needs to know about the product in a few sentences that quickly, yet effectively showcase my opinions.

Though I haven’t sketched recreationally for years now, I’ve returned to doing so for school, using a sketchbook to create concepts and ideations after being enrolled in the graphic design program. Though I prefer to do the entire creative process digitally these days, my experience with drawing animals, objects, and logos on pencil and paper have proven to be quite useful.

Overall, being a generalist has proven to be very useful in a wide variety of situations, when a client will need many different products to be created by a single designer. Being versatile is something that I’m proud of, and my experience and execution of every project I finish even more. I’m looking forward to further expanding my arsenal of tools and skills, especially the ones I’m not too familiar with (After Effects, InDesign, Figma), which will definitely improve my productivity over the course of being a graphic designer.

Categories
New Media

XR Module – Project 4: AR Panel Project

For this assignment, our group was tasked with thinking of a topic to do our project on. We decided on the theme of markets after a vote. I chose the recently closed MacPherson’s Fruit & Produce because of its decades long relationship it built with the residents in the South Seattle area for their welcoming environment, and excellent produce.

After deciding on a location, I began creating a mockup of the panels using photoshop. Some important elements that I wanted to use include:

  • A picture of the store
  • A photo gallery with some music
  • A brief description of the location
  • The store’s location on Google Maps
  • Recent customer reviews

The photos were acquired from MacPherson’s social media pages, the description from various articles regarding its closure, and the reviews from Google Maps.

Next, I created all the individual panels using photoshop and exported them to EyeJack. Unfortunately, due to the 3MB limit on panel projects (3MBs in 2023, really?), I had to compromise on the quality of the photos, the size of the gif, and was forced to removed 2 other panels. I also had to shorten the length of the audio that I used for the gif, which was also unfortunate.

After the mockup was finished, I transferred everything over to EyeJack. I found the layout of the Panels page easy to use, and was able to quickly move every panel where I wanted to without issue.

While the location may be gone, its memory and its legacy will not be forgotten in the hearts of the thousands of customers that MacPherson’s has served in the decades that it’s been there.

Even though it’s nowhere near the true experience of purchasing a few bags of fresh produce there with the assurance of good quality products, the panels project featured can be shared to those who want to remember MacPherson’s, or for people to understand why the store was such as valuable location for local customers. Scan the code below to open the experience on your mobile device.

Categories
New Media

XR Module – Project 3: AR App – UI/UX Review

For this project, I chose to review the Niantic AR (AR+) feature in Pokémon Go, a popular location-based role-playing-game (RPG) available on all mobile platforms. (Link to article on Niantic’s website regarding the AR feature).

This feature is disabled by default, so Niantic AR (AR+) needs to be enabled by tapping on the pokéball icon on the center-bottom of the screen, then tapping the settings icon on the top right, tapping on the AR section of the settings menu, and enabling the feature from there (requires the game to restart).

After restarting the game, AR+ is ready to use. First, select a Pokémon of your choice from the inventory page and tap on the camera icon below the star button on the top-right corner of the screen.

The camera on your device will be enabled, and your surroundings will be displayed on the screen. It will prompt you to move the device around to find a suitable area of flat ground for your Pokémon to rest on.

After selecting a valid position, your Pokémon will appear on your screen on the area you tapped. You are able to interact with your Pokémon by either feeding it treats, petting it, taking pictures, and occasionally receiving gifts.

This is the screen for interacting with your Pokémon using the AR camera.

In my opinion, the UI for the feature is easy to figure out, but it some opinions I have on it include:

  • The UI of the AR Camera and AR Capture is fine – the buttons are located on locations of the screen that are out of the way
  • The buttons on the top could be slightly larger and have backgrounds like the ones on the bottom for increased visibility
  • Camera button needs different colors

I would say that the AR camera feature is lackluster at the moment. Some issues I have for it regarding functionality include:

  • The lighting for the surroundings not being applied to the Pokémon model, which makes it look out of place when taking photos.
  • Not being able to resize, reposition, or pose Pokémon for photos.
  • Having to re-place your Pokémon after moving too far from it.
  • Placement scanning is overly restrictive – Pokémon can’t be placed on surfaces other than solid ground (i.e water, slopes, angular buildings, in mid-air, etc).

Overall, I think that the AR camera is rather niche and gimmicky, but a nice feature for occasionally taking pictures. The feature was only introduced around a year ago, and it’s experimental, so it’s understandable that it needs some major improvements. I’d like to believe that the feature has the potential to be the interactive experience that Pokémon players have been wanting for years if Niantic is willing to invest the time and resources to ensuring that AR integration is as useful and fun to use as the company hyped it up to be.

Categories
New Media

XR Module – Project 2: Adobe Aero

My immersive Augmented Reality Card experience involves a steam engine slowing chugging towards the viewer with some scenery on the side.

I wanted to see what I could do with the stock assets, so I searching around for something that I could work with, and found something that could be fun to animate.

A classic Christmas tale: The Little Bronze Engine Who Couldn’t Pull a Train

This is a banner created in Photoshop. The only other asset that wasn’t included in Aero was a set of rails, and the sparkly gif, which I repurposed for banner decoration.

Here’s the banner, nothing special

I considered using more of own 2D assets, but they looked out of place when framed next to Aero’s low-poly models. For instance:

Here is the workspace with all the assets at once

I also wanted to use more models to pad out the landscape, but each one seemed to be several MBs in size, and plastering them throughout bloated the size of the file. This made it more tedious to re-download the file to my phone every time I wanted to view it, which is unfortunate because I wanted to create something more expansive.

Aero was easy to use once I got past the learning curve by following the provided tutorial and experimenting with the interactions on my own. I found it strange that the interactions aren’t alphabetically ordered, but that’s a nitpick that I got over once I remembered the positions of the ones I wanted.

Overall, I would say that Aero is a somewhat simple program for creating small AR projects, which it does well for what it is.

Categories
New Media

XR Module – Project 1: AR Poster

For this project, I used EyeJack, an application for desktop and mobile devices that allows you to create posters and view objects using augmented reality to create my own poster.

I came up with the idea by thinking about my interests, and how they could look in an AR environment. I chose to have a Pokémon appear on the screen, because the idea of it appearing on the screen and squawking at the viewer seemed like an appealing concept to try creating.

The animation was acquired from this link, which is an archive of animated Pokémon sprites and gifs that are available to export and use for personal projects (very convenient). Initially it was supposed to move across the image, but the animation played strangely in practice, so I opted to scrap it.

The only other issue I encountered was being unable to edit the sound in EyeJack itself, which leads to an unfortunate case of the squawking sound being spammed repeatedly. If I had known that beforehand, I would’ve adjusted the duration of the video to account for that.

Below is the poster created with EyeJack for the QR Code, and AR integration, as well as photoshop for the layouts. Follow the instructions on the bottom of the poster to get started.

Be warned, the sound is LOUD. and it rapidly replays because its only a few seconds long, so lower your device’s volume before scanning.

Categories
New Media

Blog Assignment #5 – Letter in the Wild

For this assignment, I was tasked to find an object that resembled the letter J. Luckily, I didn’t have to go far to look for it, as I found that the curved end of a handrail on a flight of stairs was what I was looking for.

Now isn’t that Just convenient?

Categories
New Media

Blog Assignment #4 – International Work Opportunity

For this assignment, I was tasked with thinking of a country that I would like to work in, while considering the circumstances and challenges that come with moving there.

I chose Hong Kong, a special administrative region (SAR) of China because of my heritage, and my interest to return there for a visit one day. Being a graphic design student, I scouted for jobs relating to graphic/motion design on Google, and selected a few that I had notable opinions about.

This one has many expectations, probably wishing for a unicorn.
This one is more reasonable, lists relevant software skills and some work experience.
Requirements are up to interpretation on what responsibilities an applicant should possess.
Reasonable requirements, lacks any mention of benefits

These were all mid-level to senior-level positions; I couldn’t find any junior ones or any internships, which is unfortunate for new designers looking to step foot in the industry.

I’d like to claim that the market for a graphic designer in Hong Kong isn’t as large as it is here, which is probably true considering the high unemployment rate among young generations, popularity of social media tools, and advancement of AI services.

The cost of living in Hong Kong is extremely high – most people there only have enough for an extremely small, single-room apartment to live in. I highly doubt that a single mid-level graphic designer’s salary is enough for purchase anything more than that, which is unfortunate.

Overall, I would need to consider more factors such as culture, different climate, language barriers, and other variables in order to fully decide whether I would actually accept an to opportunity to work there.

Categories
New Media

Blog Assignment #3 – Time Management

For this week’s assignment, I was tasked with tracking what I did during the week. I kept track of everything by creating a series of tables for each day of the week and sorting each task by the time of day and wither it was school related, or personal.

While I already keep track of my school-related tasks using this table system, I don’t see myself keeping track of my personal tasks moving forward because they don’t have a set due date, and instead can be completed interchangeably throughout the week.

Saturday 10/21:
MorningAfternoonEveningNight
School:NothingUpdate HTML DocumentStart on New Media BlogNothing
Personal:Cook breakfastOrganize foldersPlay some gamesSleep
Sunday 10/22:
MorningAfternoonEveningNight
School:NothingWatch Illustrator tutorialsConcepting for New Media ProjectCreate mockups for New Media
Personal:NothingRead book from librarySort Youtube PlaylistSleep
Monday 10/23:
MorningAfternoonEveningNight
School:Present HTML MockupRead HTML articlesWork on presentation slidesFinish shape sketches
Personal:NothingRead book from libraryFinish Reading bookMeal prep
Tuesday 10/24:
MorningAfternoonEveningNight
School:Listen to lectureWork on presentation slidesFinish Illustrator projectNothing
Personal:NothingWatch Youtube VideosLearn new recipeSleep
Wednesday 10/25:
MorningAfternoonEveningNight
School:Print out and present Illustrator posterListen to line/width tool tutorialFinish logo conceptsNothing
Personal:NothingVisit a grocery storeWatch Youtube VideosSleep
Thursday 10/26:
MorningAfternoonEveningNight
School:Share logo conceptsImplement feedbackDraw in IllustratorMockups for New Media
Personal:NothingRead books in school libraryCreate social media postersSleep
Friday 10/27:
MorningAfternoonEveningNight
School:Attend PresentationFinish New Media Remix AssignmentRefine HTML documentNothing
Personal:Create shopping listVisit LibraryWatch Youtube VideosOrganize Images
Categories
Weekly Assignments

Blog Assignment #2 – Fish Out of Water

For this assignment, I downloaded the Polycam app on my phone and scanned a plushie of a Pokémon to created a 3D model ready for AR use. It took around 50 images to create a model that had acceptable captures at all angles. I realized after filming that some of the fins and lower body were cut off while I was cropping, which could’ve prevented by placing the plushie on an elevated platform while taking pictures.

Next, I thought about where I should record the AR video. I decided to venture out to the fountain at Cal Anderson Park because of the shallow and flat body of water that is both conveniently easy to film at, and close to campus.

Unfortunately, I was unable to place the model on the water (I don’t think Polycam can support placing objects on anything other than solid ground). Instead, I placed the model on the rim of the fountain, which wasn’t quite what I had in mind for, but close enough. I noticed that the AR camera feature also buggy and user-unfriendly while recording; the buttons were very small, and had to be pressed on a few times to get a response, and the model disappeared at some angles.

The original video was too large to upload to this blog, so I had to compromise on the resolution, length, and framerate by editing it in Premiere Pro, and reducing the file size with HandBrake afterwards, which was a hassle.

Anyways, this is the (f)in(ish)ed video of a fish out of water. Enjoy?