
Blog Assignment: Black Box Problem

Engineer by profession. Artist and Designer by love
Our group has recently completed the final assignment for our AR class. For this project, we focused on promoting sustainable businesses. After careful consideration, we highlighted and promoted businesses offering second-hand items. Promoting such businesses would encourage more people to consider purchasing items that are no longer in use. This approach can help reduce waste and promote sustainability while also promoting the idea of reusing and recycling. Moreover, by buying from such businesses, people can save money while contributing to a cleaner and healthier planet.
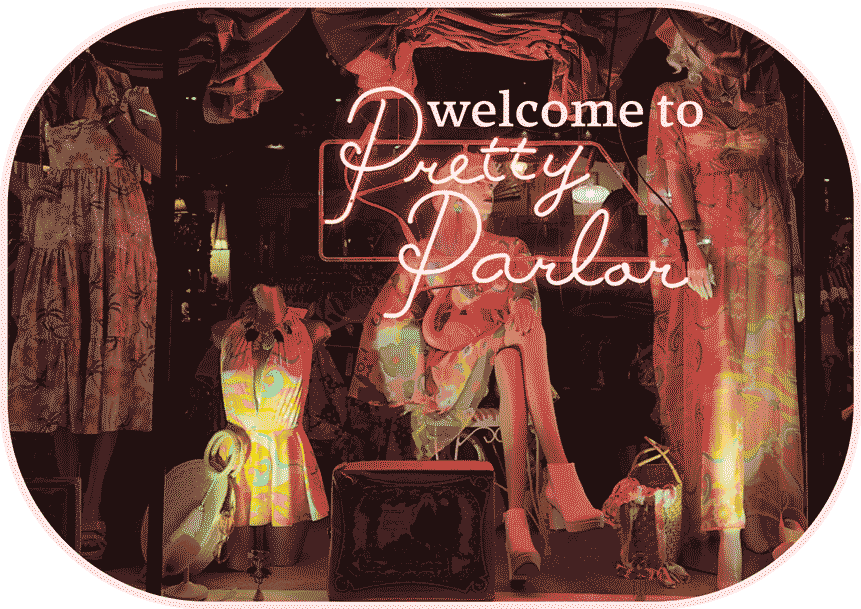
The panels contain essential information about the business, such as the schedule, products, location, and more. I live in Capitol Hill and decided to visit “Pretty Parlor.” It’s not just a typical boutique; it’s a fascinating journey through time and style, celebrating vintage fashion from the 1920s to the 1990s and curated collections from local designers. It offers a whimsical blend of new and second-hand clothing and accessories, including retro-inspired dresses, bridal couture, and limited-edition streetwear. Anna founded Pretty Parlor, and her passion for reviving old-fashioned charm runs deep. It’s a haven where customers can immerse themselves in nostalgic elegance, discover unique treasures, and experience a personalized shopping adventure that transcends mere retail.
To create the panels for Pretty Parlor, I used Adobe Illustrator. For each panel, I followed a specific guideline.

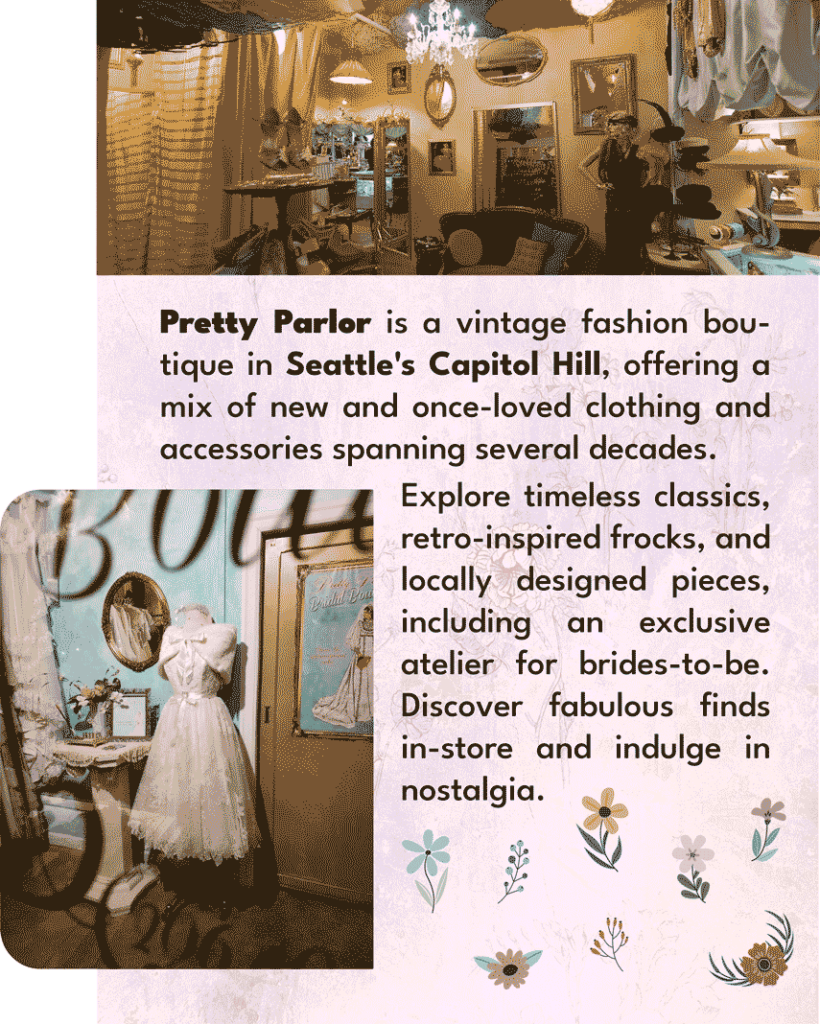
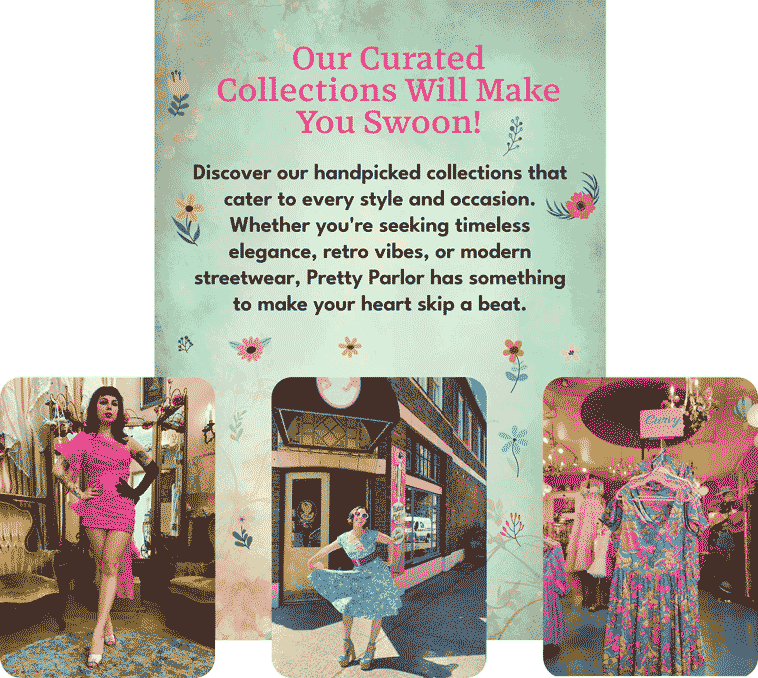
The first panel, “Welcome to Pretty Parlor,” was designed to warmly welcome customers to the store. The second panel, “What is Pretty Parlor?” aimed to give customers an overview of the store’s offerings. The third panel, “Store’s rules,” contained the store’s policies and guidelines to ensure a safe and fair shopping experience. Finally, the fourth panel, “Collections,” showcased the store’s products and services.
To achieve a consistent look across all panels, I chose a cohesive color scheme that used vintage pastel colors, retro patterns, and imagery that reflected the store’s aesthetic. This helped to create a visually appealing and engaging experience for customers visiting the store.

I saved each panel as a PNG file because some images were outside the artboard. However, before uploading them to EyeJack, the app we used to create the AR experience, I had to reduce the resolution of the images and save them using only 16 colors. This was necessary because EyeJack has a restriction of 3MB for assets.

After completing the project, I arranged everything in EyeJack. The process was straightforward to follow. Once I published the project, I received a QR code from EyeJack, which I used to launch the experience from the store using the EyeJack app on my phone. Finally, everything was set up and ready to go.

Here is the final result: https://youtube.com/shorts/viR2mJrVr74?feature=share
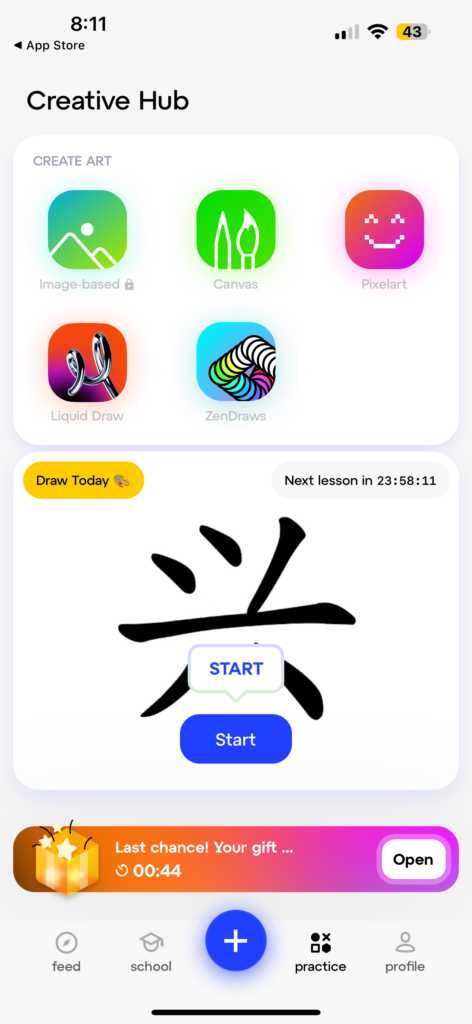
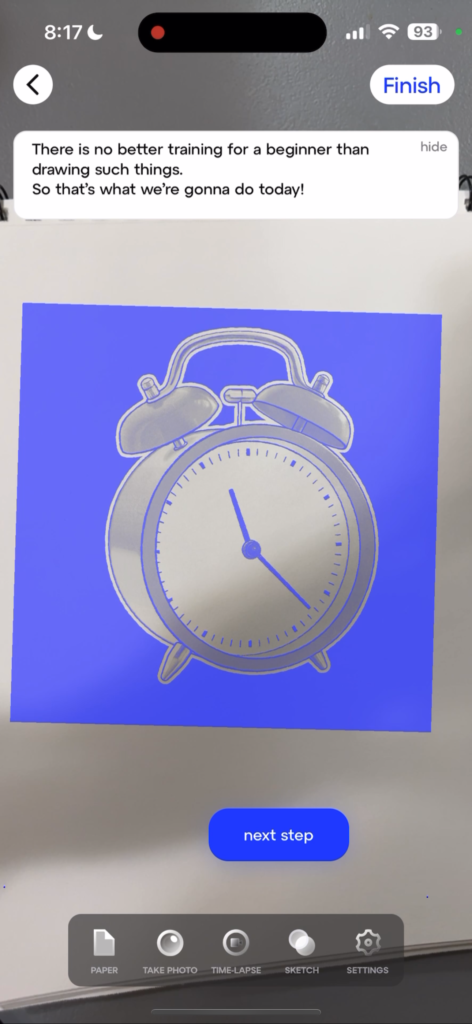
SketchAR is an AR app that lets you draw on any surface using AR technology. The app overlays virtual sketches onto the real world, giving you endless possibilities to express your creativity. By utilizing AR technology, the app projects a virtual image onto the real world, providing users with a reference point to trace or draw from. The app offers step-by-step drawing lessons that are helpful for both beginners and experienced artists alike. From basic shapes to intricate portraits, the tutorials cater to various skill levels and interests. Each lesson is accompanied by clear instructions and visual guides, making it easy to follow along and improve your drawing skills.
The app’s easy-to-use interface and responsive controls further enhance the experience. Navigating through the various features and tools is straightforward, allowing users to focus on their creativity without being hindered by technical complexities. Additionally, SketchAR offers a wide range of customization options, allowing users to adjust brush sizes, colors, and other settings to suit their preferences.
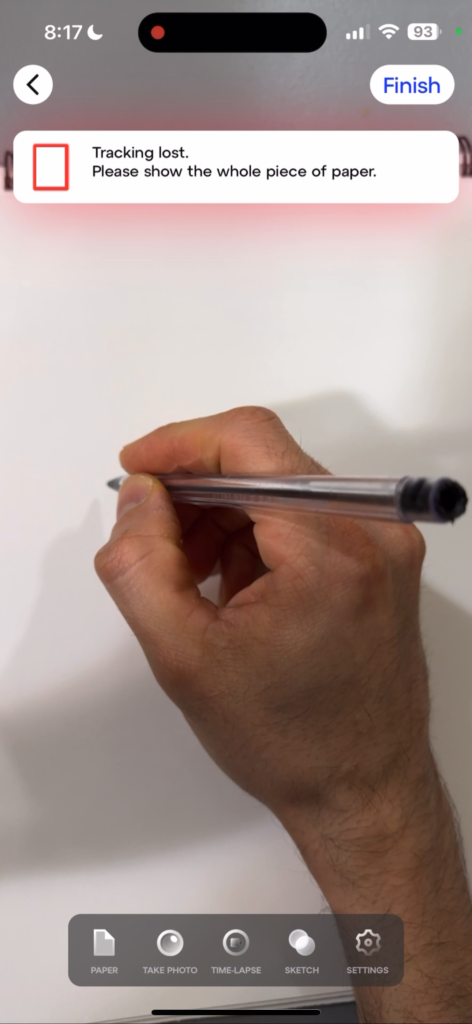
One issue with the app is that it frequently loses tracking, which can lead to a loss of focus in the sketch. In order to re-establish tracking, you will need to continuously move the phone around. Additionally, the app is designed to be used with one hand holding the phone while the other hand does the drawing. However, this method can be a bit challenging since you need to maintain scene tracking with the hand holding the phone.
Here is the result of my sketch:

Check my short on YouTube using the app.
This week, we had to create a 1/1:30-minute video explaining the process of one of our assignments. I chose my Color Theory class, and here is the process behind the anti-war poster for the class.
This week in my AR class, we were assigned to create a letter using Adobe Aero software. However, I decided to take a different approach and create a marketing campaign for a product that I am designing for my Interactive Design class. The product is a probiotic soda called “bubble.” Since I already had the product mockups created in Adobe Dimensions, I was able to import the 3D model into Adobe Aero.

In Adobe Aero, I have designed a sequence that showcases the brand logo in an interactive way. The sequence begins with the logo’s first letter enclosed within a bubble, which the user can touch to reveal the brand’s full name. Following that, the dog and flavor elements of the brand are displayed.
To demonstrate the brand’s fruity flavors, I have used guava and passion fruit in my design. The sequence features two illustrations of the fruits, which are displayed alongside their respective names. This will allow users to easily associate the brand with its fruity flavors and have a clear understanding of what the brand has to offer.

Firstly, I opened the Illustrator file and then exported it to Photoshop. Once I had the file open in Photoshop, I created GIFs using the frames of the image. After creating the GIFs, I imported them into Adobe Aero, a tool for creating augmented reality experiences. By importing the GIFs into Adobe Aero, I was able to add them to my AR project and create an interactive experience for users.

These are the gifs that I made in Photoshop.


I successfully completed my assignment by importing all the necessary assets into Adobe Aero. To create the scene, I used two interactions – “Tap” and “Proximity Enter.” I must say that the entire process was an enjoyable experience, as I got the opportunity to explore Adobe software that I hadn’t used before. I didn’t face any inconvenience during the process, and everything went smoothly. Overall, I am quite satisfied with the outcome of my work and I look forward to working on similar projects in the future.
Here is a video showing the final work: